How to host frontend apps on Heroku

I am a software developer who enjoys learning new things and writing about them.
As a web developer, if you have ever used Heroku to host backend applications or full-stack apps, you may have wondered if you can host frontend projects without ever having to write backend code.
Introduction
The common pattern followed when frontend applications are hosted on Heroku is to write some backend program to handle requests made to the server and determine what pages to return to the client
In this tutorial, we will learn how easy it is to deploy frontend applications on the Heroku platform with the help of NPM.
We will be deploying an app to try this out. A web app created with plain HTML, CSS, and/or Javascript. Available on Gist. This also works for Single Page Applications too.
Requirements
To try this out you'll need Nodejs, npm, git, and Heroku (though not necessary).
Common Solution
Most times we do not have to implement a feature from scratch as it may be implemented already and made available for use. Thankfully, npm gives us access to many different libraries and packages. We will be using serve package for this. Serve is an npm package for serving static files.
You can use any frontend application for this.
Initialize Project
Open the project folder in the terminal and run npm init to initialize an npm project.
It is advised to keep the source files in a separate folder and then serve the folder content instead, in order to prevent access to private files and folders like .git and .gitignore
Install Dependencies
Run npm install serve command in the terminal to install the serve package.
Setup scripts
The next step is to add an npm script to start a server that serves the website's files. We will be serving a whole folder like src, dist, build, etc. We do this by adding the following line
"scripts": {
    "start": "npx serve src"
}
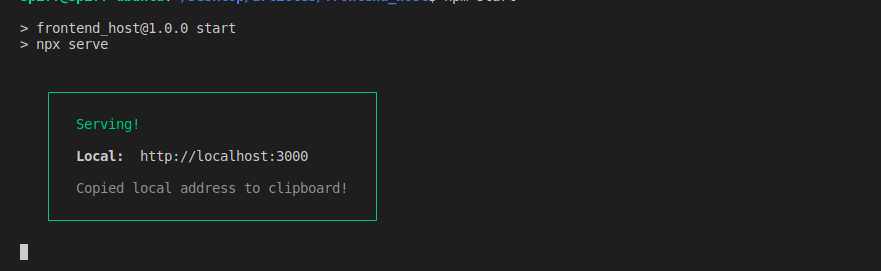
We used src in this case. To test this out run npm start in the terminal inside your projects directory, this starts a server serving the content of the specified folder on your machine
Server Configurations
The server in our case is the npm package, serve, which supports customization through the use of a configuration file for things like redirects, rewrites, etc. This is discussed in depth in the Github repository.
Push to Heroku
The next and final step is to push the code to Heroku. In this article, we used the Heroku CLI option.
We are to run the following commands in the terminal
# Initialize a git repo
git init
git add .
git commit -am "initial commit"

# Deploy to heroku
# frontend-heroku1 is the app's name and should be changed
heroku login
heroku create -a frontend-heroku1
heroku git:remote -a frontend-heroku1
git push heroku master
After running these commands, if successful you'll get a message with a link to your app.
Visit the link and vaula 🥳. You've hosted a frontend app on heroku.
Conclusion
In this article, we learned how to deploy frontend applications to Heroku without having to write a server from scratch and even how to handle routing for Single Page Apps.


